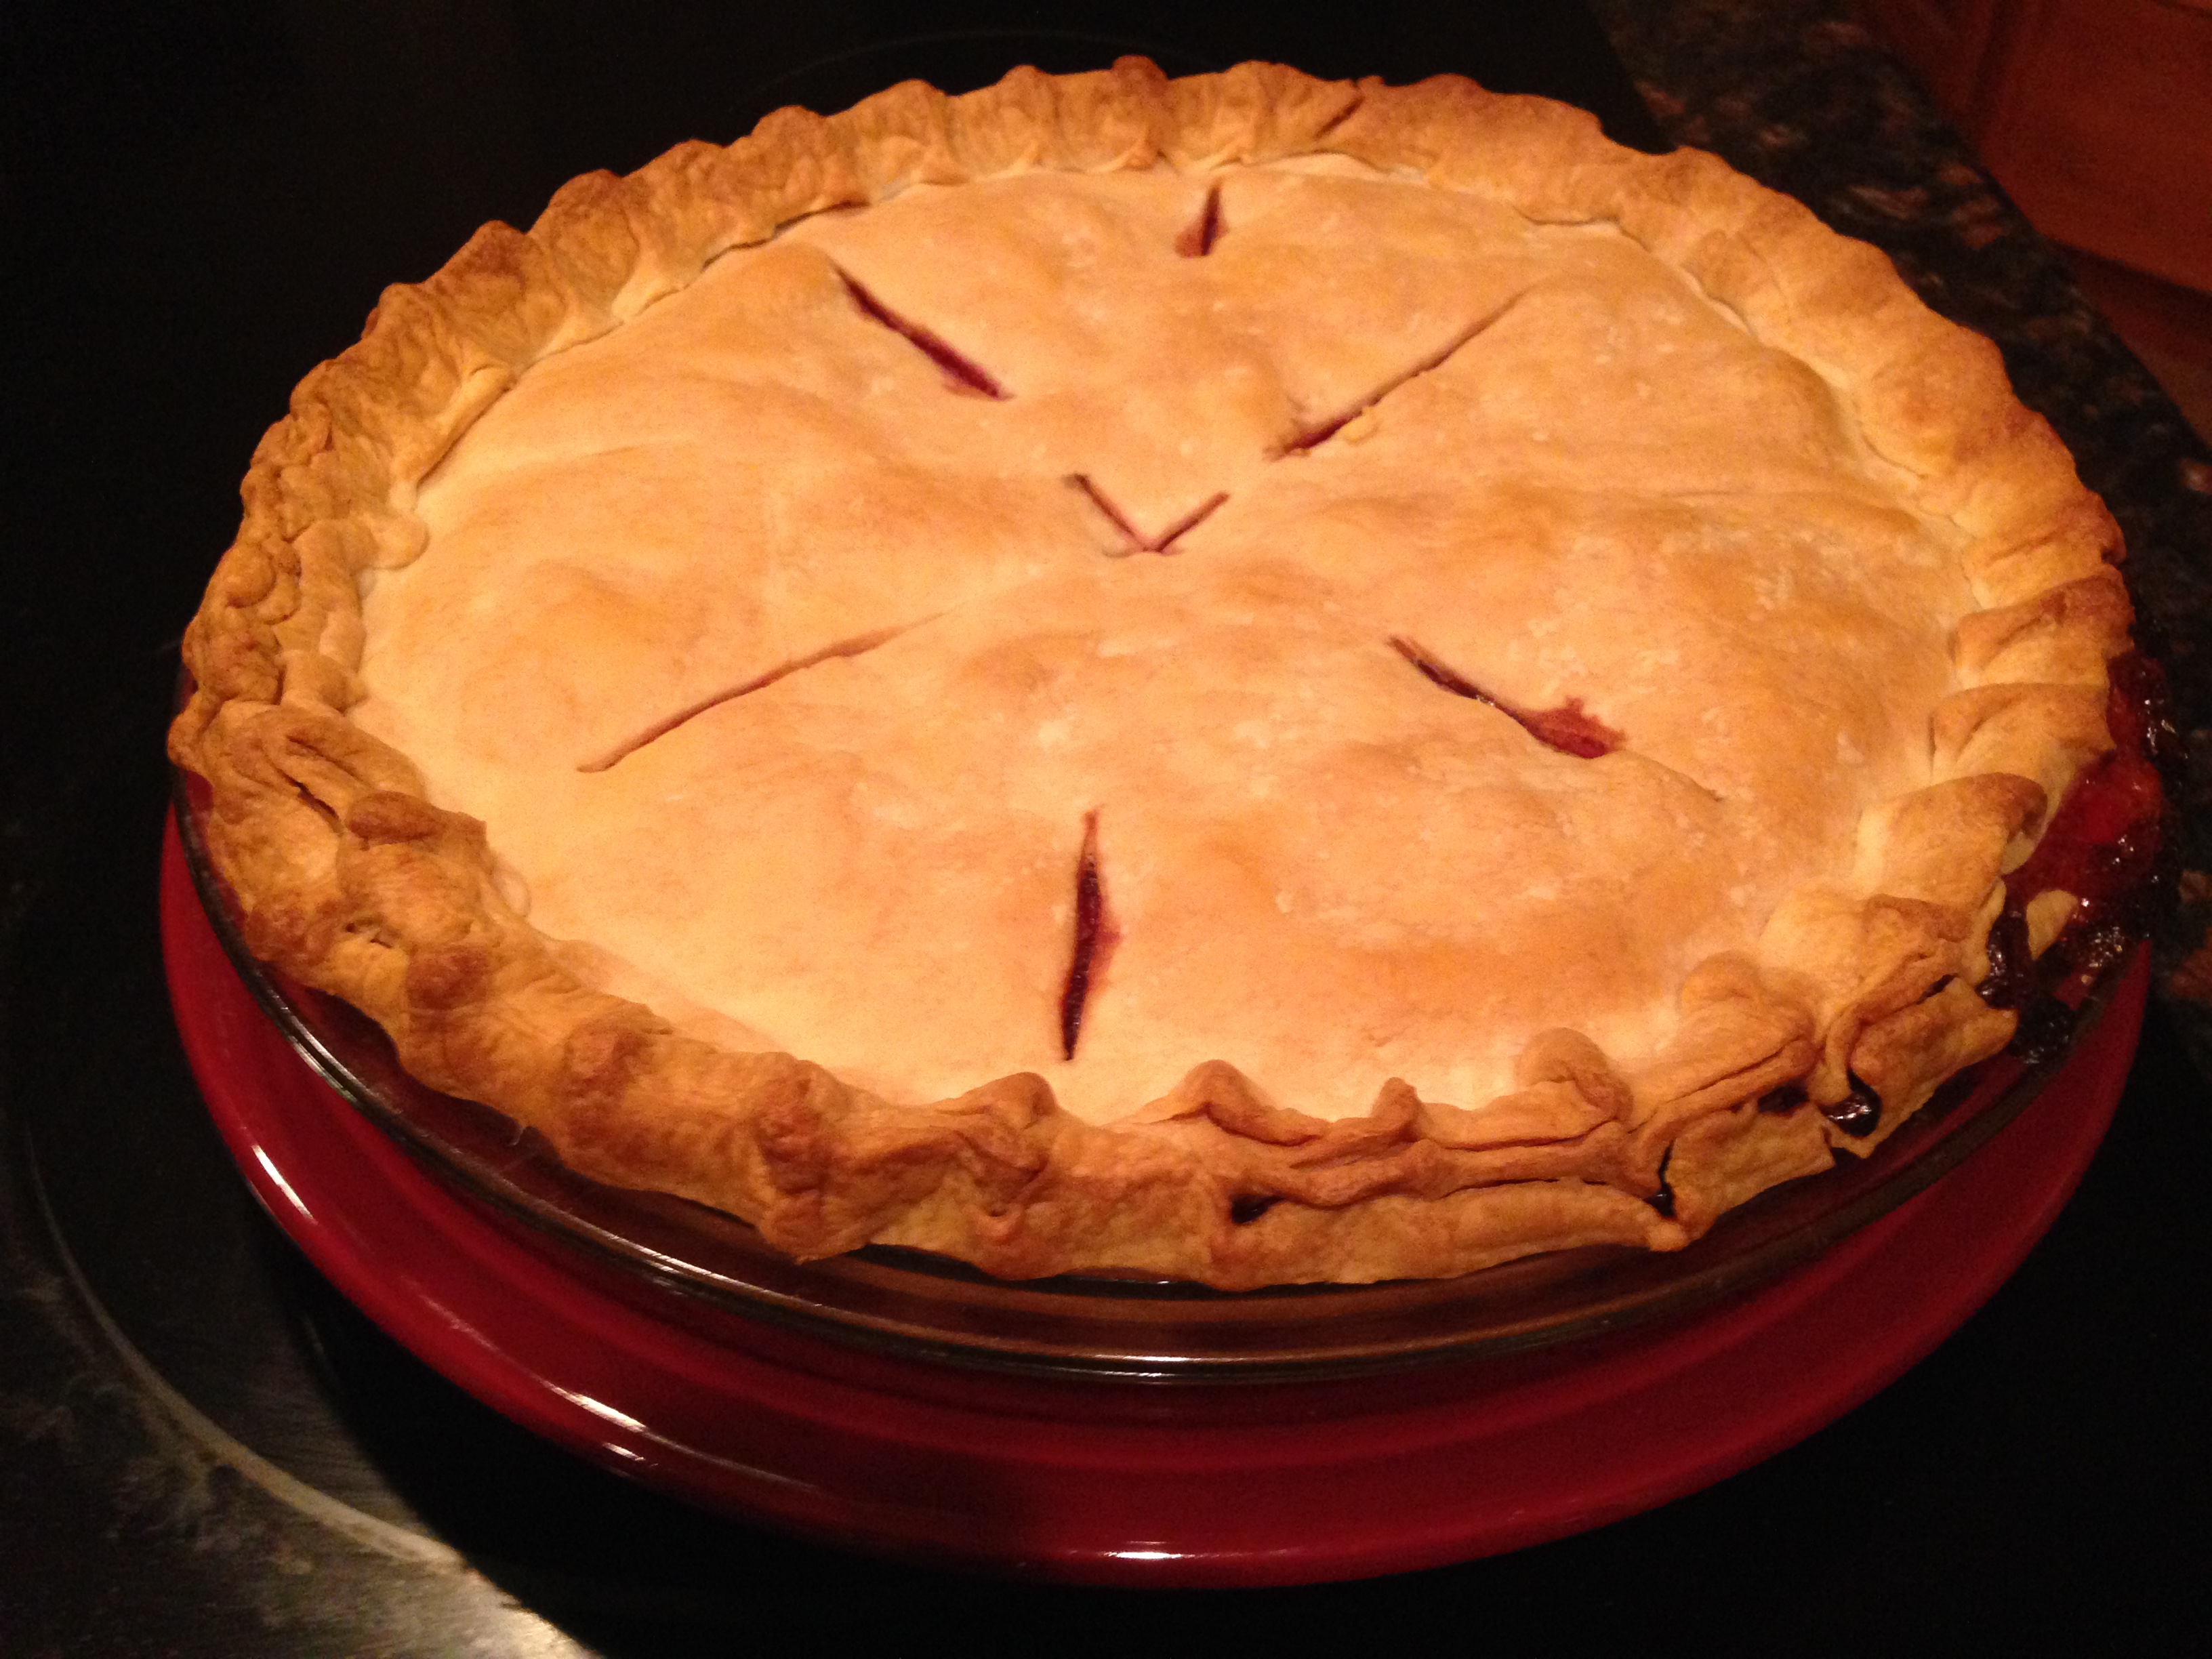
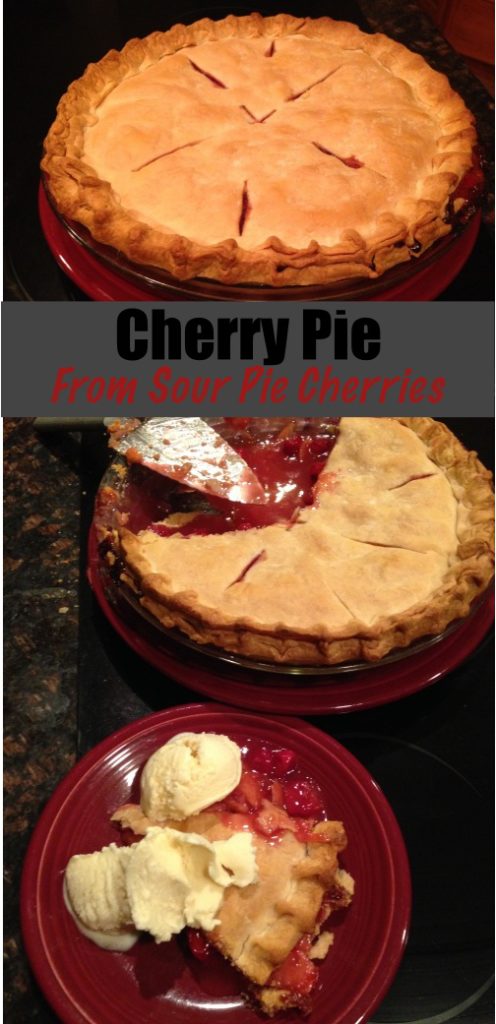
This is my very favorite pie, and I really love pie. Grandma Gunda loved cherries, and she lived to age 99 so I figure cherry pie is health food. Grandma and my mom used to make 20 apple pies every fall and store them in the freezer. Grandma made the crusts from scratch, of course, and mom peeled the apples. I don’t have the freezer space for 20 pies, so I freeze the cherries in Ziploc bags, and use premade refrigerated crusts to make them into pies later. I think Grandma would approve, but I’m never really sure. But I sure she’d love the pie!
I pick cherries off my backyard cherry tree in groups of one pie at a time, filling a 1 quart strainer (4 cups). After rinsing the cherries, it’s time to pit them. I can pit a quart of cherries in 15-20 minutes. Start by holding the cherry in your fingers with the stem side pointed toward your other hand. Gently squeeze until the pit pops out, and catch it with your free hand. Drop the cherry in a bowl, or a large Ziploc bag if you’re freezing cherries for later.

Cherry Pie
Ingredients
- 4 cups pitted sour cherries (pitting hints above)
- 1 1/4 cups sugar
- 1/4 cup flour
- 2 refrigerated pie crusts
Instructions
- Place a wide piece of aluminum foil on the lower oven rack to catch any overflow out of the cherry pie while it bakes, and preheat the oven to 375 degrees.
- Once you have your pitted cherries, mix in the flour and sugar.
- Press one of the pie shells into 9 inch pie pan, then pour in the cherry filling. Top with the second crust, trim the excess dough if you want to, and pinch the two crusts together around the edges to seal up the pie.
- You’ll need to cut some slits in the top crust to let the steam escape. Cover the edges of the crust with strips of aluminum foil to prevent them from browning too fast, and bake for 50 min at 375 degrees.
- Remove the foil, and bake an additional 25 minutes or until the crust looks golden.


Leave a Reply
Your email is safe with us.